
This was a fun book to make, and really easy too. A friend sent me this link, and I thought this would be an easy one to try for my first mini book. Here is the deal thou, my paper cutter is in a bad way. I need a new blade for it. So, I tried something different that I recently learned. I saved my journal pages in my Cameo Software, then I created all the right sizes for the mats and papers and use my machine to cut everything out. Print and cut is great, and made this book really fast.
Once I had to book all put together, I had to embellish it. It needed to be simple, yet I wanted it to be elegant. It also needed to be mostly flat for folding. I was not the best at accomplishing this last part as you can see from the photos. The papers have some great colors in them, which gave me the opportunity to use flowers I don't normally use.
I hope you like my book!
Kimberly
 |
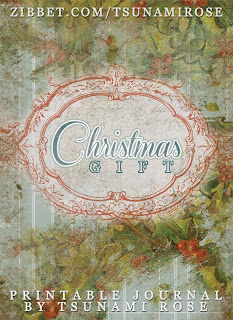
| Front of Mini Book |
 |
| Mini book open to the first layer |
 |
| Mini book fully open |
Here are some additional photos, close up's of the pages and the pockets created for the mini book.


